Hello Everyone! Today in this article we are going to discuss how to download and install Eclipse IDE for Java Programs. This IDE allows you to give a nice platform to write Java programs. So it's very essential to install Eclipse IDE in your system. Now at this time, we are going to download the latest version of java, now depending upon at what time you are downloading, it is always recommended that you should download and install the latest version.
Now before installing Eclipse IDE, you also need to install Java JDK in your Operating System. So for that let's first check whether java has already been installed or not. So for that just simply type java -version in your Command Prompt.
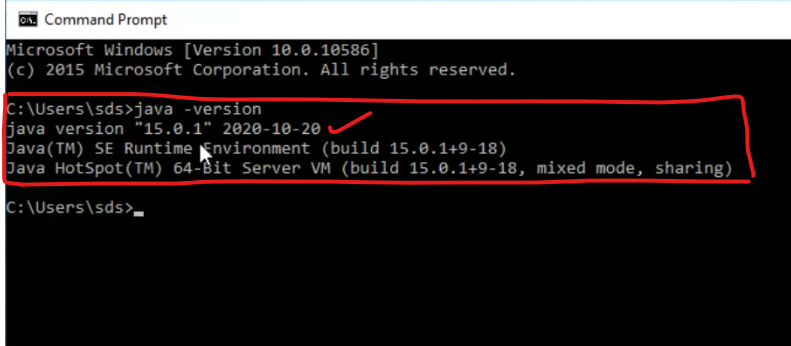
So as you can see that java version 15.0.1 has already been installed in our system. So now we can proceed with installing Eclipse IDE. But if you haven't installed Java, then you need to install java first.
So How to download and install Java for Windows? For that, you can follow the following tutorial.
###### How to Install Java JDK in Windows 10? Step by Step Complete Guide

So now that you have installed java in your system. Let's proceed to install Eclipse IDE.
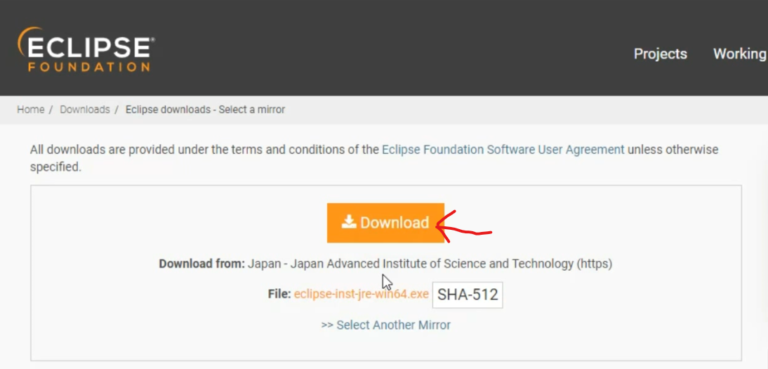
Step 1) To download the Eclipse IDE go to the official site of Eclipse IDE. Then simply click on the download button to download Eclipse IDE.
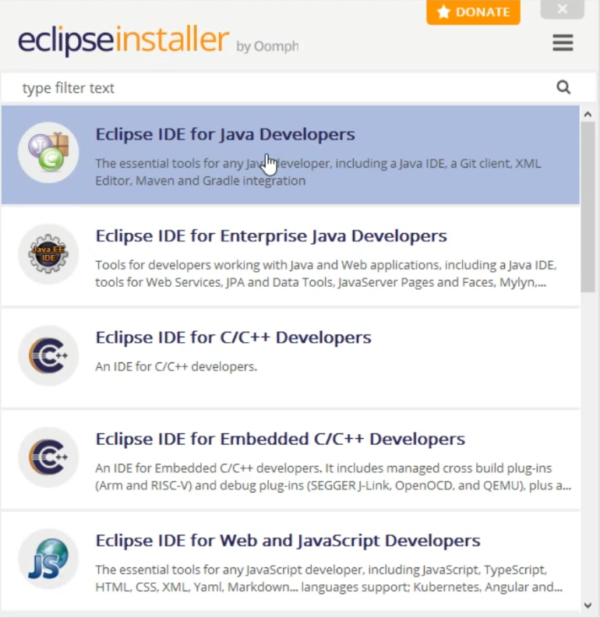
Step 2) Now after Downloading Eclipse, just simply double click on the installation file to install. You will see this Eclipse IDE install wizard. In here just simply click on Eclipse IDE for Java Developers.
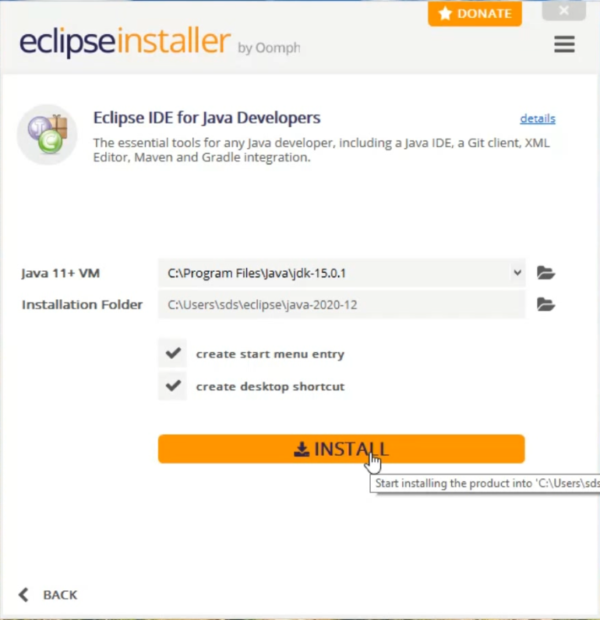
Step 3) Here you will see JDK installed directory and then the Installation Folder where the installation going to happen. If you want to change installation directory you can change that by clicking the browser button. Other just simply keep these all default and simply click on Install to install Eclipse IDE.
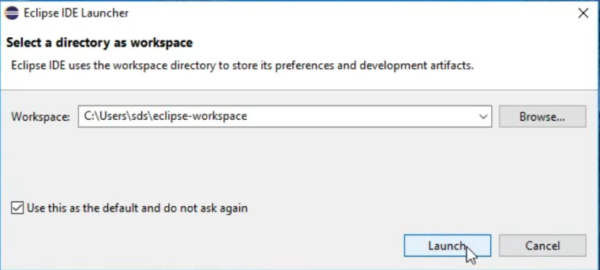
Step 4) Now after completion of Eclipse IDE installation, you will be greeted with Eclipse IDE Launcher. In here this is going to be default workplace for all of your projects. You can easily change your default workplace by clicking on the browse button, other wise just simply click on use this as the default and simply click on the lunch button.
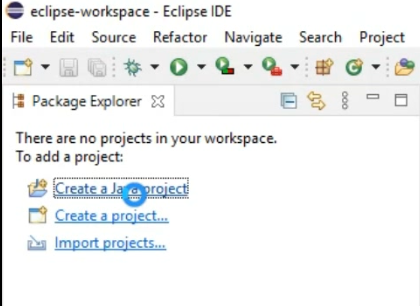
Step 5) Now in here simply click on create a java project for creating a new project in your Eclipse IDE.
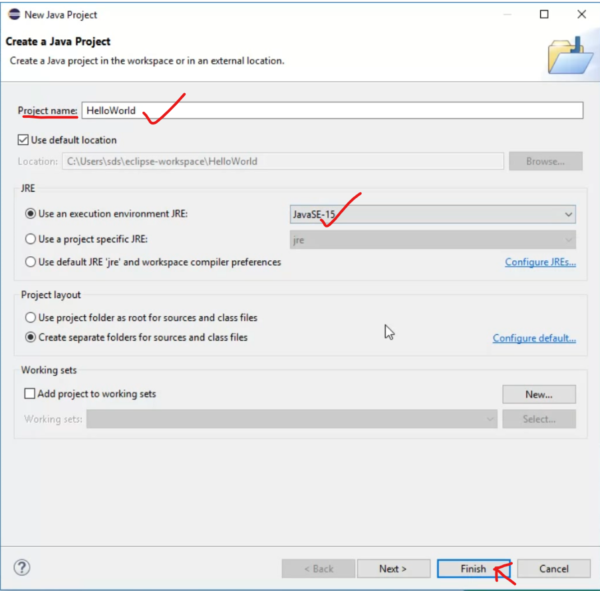
Step 6) In here simply give a project name, and keep your environment JRE as JavaSE-15 and simply keep on Finish.
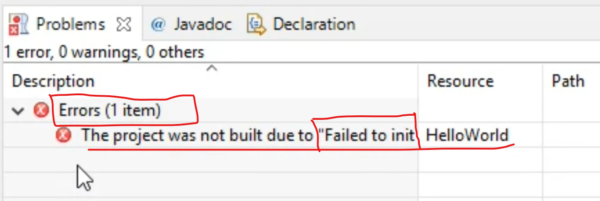
Step 7) Now after creating a new project you might see this "Failed to init" error in your console. This is because environment path is not set.
Step 8) So for that just simply goto windows -> preferences and then just simply search "Installed JRE" and then simply click on add.
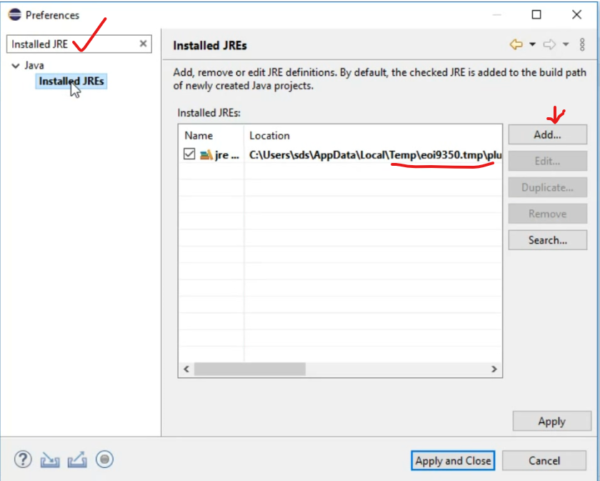
Step 9) In here you need to paste your java JDK installed directory, i.e "C:Program FilesJavajdk-15.0.1" in JRE Home.

Step 10) Then you need to restart your Eclipse IDE, and you will see that the error is gone! Now just write a simple hello world program and simply run it. You will see that Hello World!! has been rightly shown on the console.
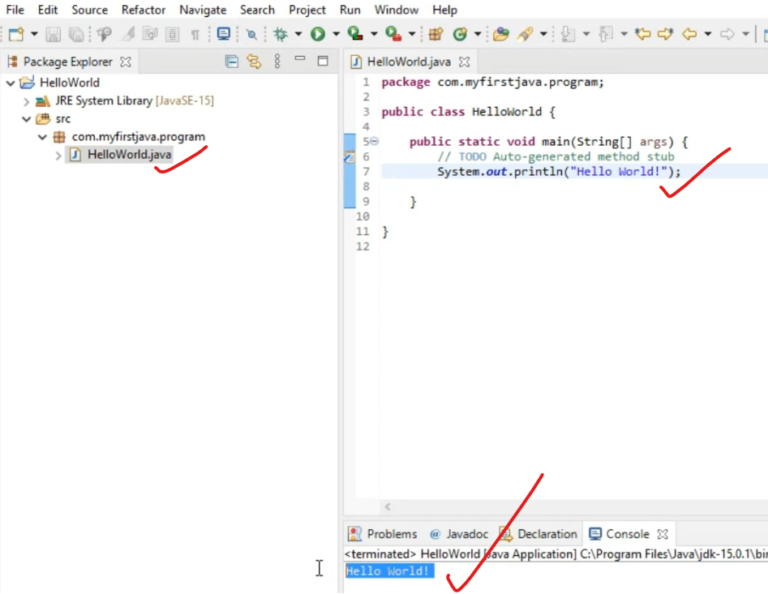
So congratulations!! :) You have successfully installed Eclipse IDE and you have run your first Java Program!!
If you face any difficulty you can always comment and you can also watch the following video.
#### How to install Eclipse IDE on Windows 10 (64 bit)[ 2021 Update ] Step by Step Installation guide
About the Author: gs_admin
A senior technical contributor specializing in architectural designs, software optimization, database structures, and developer education. Passionate about writing clean code and sharing engineering knowledge.